I bit the bullet and bought Barkbusters from Western Motorcycles at Penrith - they don't stock Triumph gear but only took a couple of days to get them in. $166.98 including the Storm S3 shields and the BHG47-NP bars.
See on the website at: http://www.barkbusters.net/products/194.html
Preparation:
Fitting was not quite as easy as the Barkbuster website would have you believe though a satisfactory result can be achieved with a bit of adjustment and that's the subject of this post. Make sure the handlebars and the levers are set to what's comfortable for you before you start. When I picked up the bike, the wires and cables which exit under the handlebar from both handgrips would hit the plastic side cowling of the tank and further limit the already not overly generous steering lock from standard. I rotated and refitted the handlebar risers as per the handbook which slightly lifted the bars. I then rotated the handlebars in the clamps so as to accurately match the cross mark on the bars to the joint space of the switch blocks. This put the bars in the right spot for me and stopped the wires/cables from limiting the steering lock anymore - it also helps to swap the flimsy standard rubber cable tie for a proper one.Tools:
1 x 4mm Allen key - for handlebar end bolts1 x 5mm Allen key - for handlebar clamp bolts
1 x 10mm socket or ring spanner - for handlebar clamps
1 x Phillips head driver - for self-tappers into the plastics.
Barkbuster fitting:
1. Undo the packaging and read the instructions to get a feel for all the nuts, bolts and widgets that come with it. The guards fit both the Tiger 800CA and 800XC as well as the Enduro 1200 though the 1200 has some slightly different bits included - I used some of the 1200 bits because they fitted the bike better and I'll explain this as we go.2. I fitted the plastic shields to the aluminium bars first - one self-tapping screw in the front and 2 longer screws into the plastic bracket as shown below.
 |
| Left hand side handlebar end showing the plastic cover screws installed and the use of the 1200 spacer. |
3. Remove the left handlebar end cover and discard the cover and screw. I used the black spacer and the longer bolt from the 1200 bits to position the aluminium bar a bit further out from the handlebar because the clutch lever end was too close to the aluminium bar - see above. I could have moved the clutch lever further in-board along the bar but that bends the clutch cable a bit too much because its got to clear the Barkbuster bracket.
 |
| Left hand side handlebar bracket assembled. |
 4. Loosely assemble the left hand side handlebar bracket with the ring marks on the inside of the bracket closest to the centre of the bike. The cylindrical bit that bolts to the aluminium bar is positioned between the clutch cable and the wiring harness.
 |
| Full lock test for the left side guard. |
5. Turn the steering to full lock to the right and check that the plastic cover doesn't hit the screen and that the clamp end of the aluminium bar doesn't hit the speedo. Also check that the clutch cable is not bent or impeded by the clamp. Then tighten everything up doing up the rear bolt of the handlebar clamp last. Check again as above that things still don't hit anything.
 |
| RHS handlebar end showing small spacer used. |
6. Same assembly for the right hand side except I used the smaller spacer and bolt this time (this is actually the one recommended for the Tiger 800). If you use the 1200 Enduro spacer, the cylindrical bit on the aluminium bar clamp hits the the metal part of the hydraulic cable for the front brakes. See below.
 |
| RHS handlebar clamp |
7. I positioned the cylindrical bit between the hydraulic cable and the wiring harness/cables in order to get the height right of the aluminium bar. I didn't want to shift the hydraulic cable up or down. Check that it clears the clamp so it doesn't rub. Loosely assemble as before and test steering lock clearance against the screen and the speedo. Its a lot closer on this side but still doesn't hit - its better if you use the 1200 bar end spacer but I wasn't happy about the aluminium bar hitting the hydraulic cable.
 |
| Steering lock test on the RHS. |
8. Tighten everything up once you've got it right.
 |
| A rider's view of the handlebar clamps. |
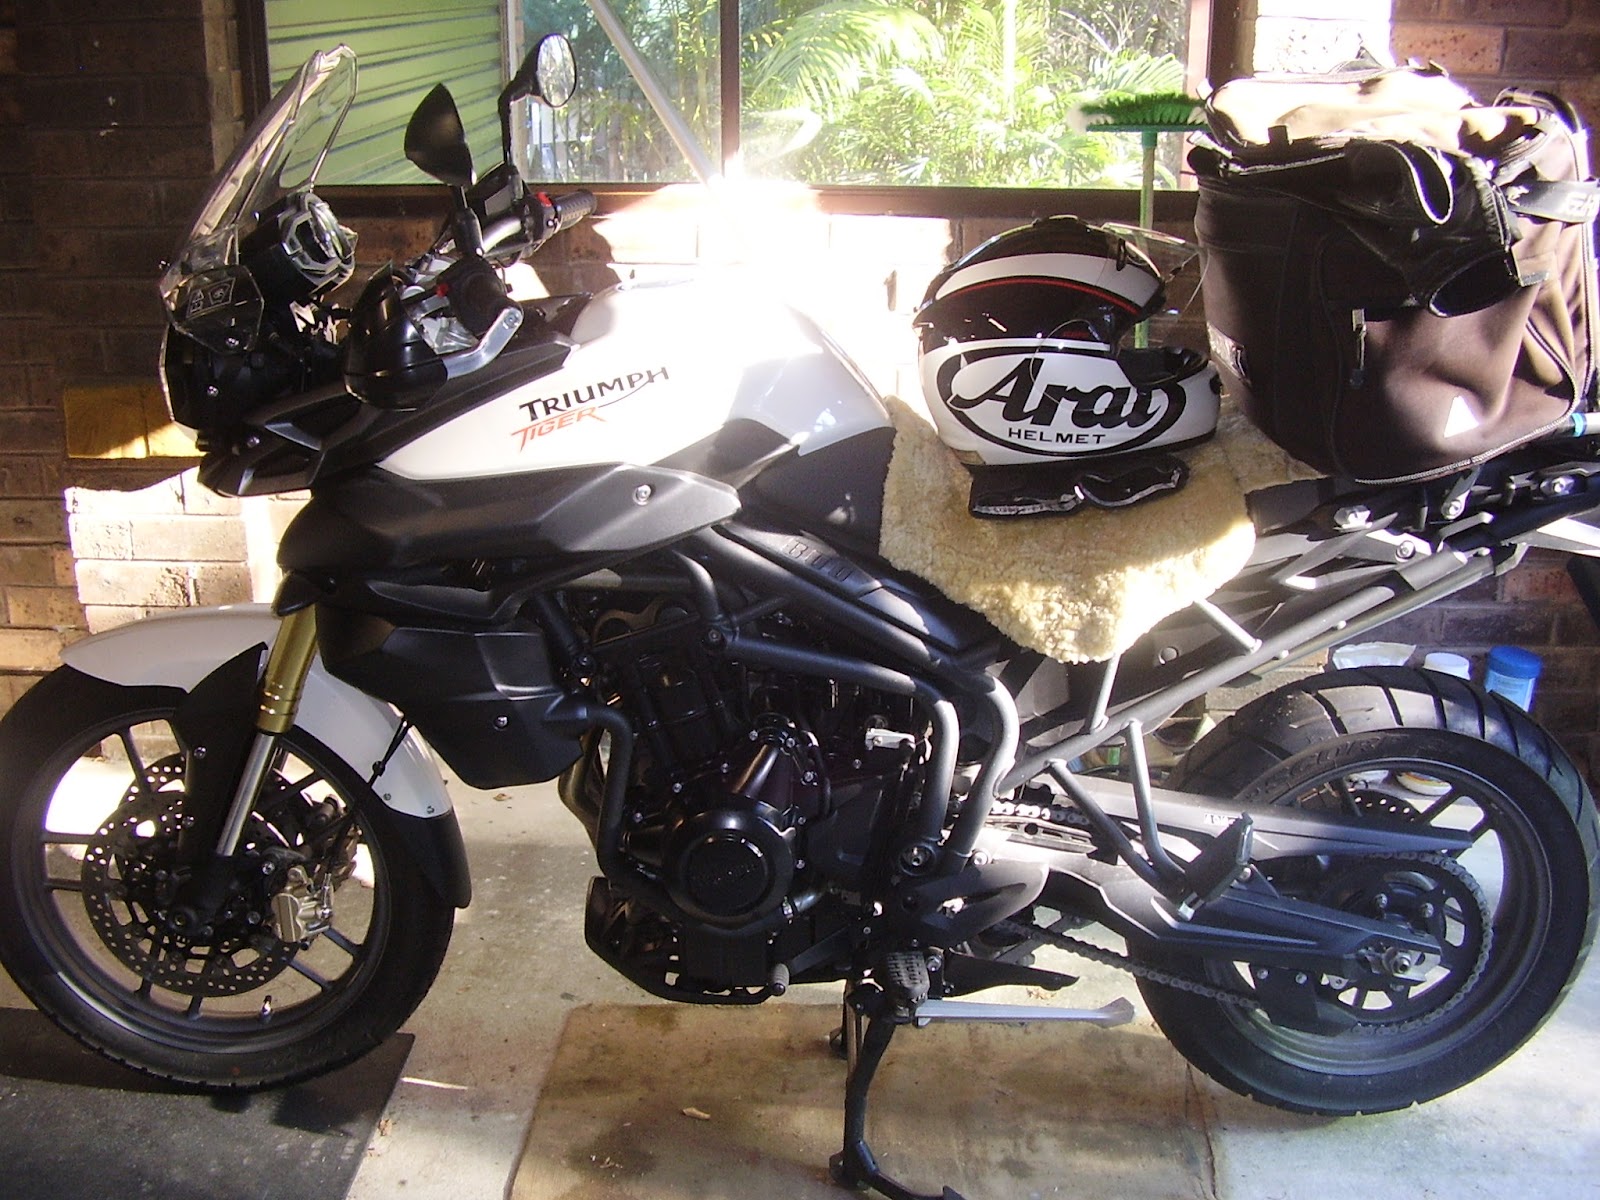 |
| Great bike! Made a sheepskin seat for it as well (in two parts to match the two-part seat) |

2 comments:
Just an update to this post. The barkbusters worsened the existing vibration through the mirrors at speeds between 90-120km/h but offer great wind and rain protection. I fiddled with the LHS fitting by removing the bigger spacer at the handlebar end and replacing it with the same one as the RHS. This meant I had to move the clutch lever inboards which also moved the mirror inwards giving an even smaller view - the LHS mirror mostly shows my left elbow now. But - the vibration through the mirrors is much reduced. I'll no doubt fiddle a bit more to try to find the right balance.
Your instructions and pics are good, but I'm having big problems. First, I have Triumph heated grips and they are much fatter than the stock grips. When you remove the bar end cap to fit the barkbusters bar there's an exposed wire that can be seen in the grip since the whole diameter of the bar isn't covered anymore. I'm not sure if this is a real problem as the bar end cap isn't a watertight seal anyway, but it's concerning.
Secondly, the bar end weights sold separately don't work AT ALL. They are drilled for an M8 bolt and is supplied with such bolts at the correct lengths, but all the fittings in the handguard kit are M6 because that's how the bar is tapped.
Post a Comment